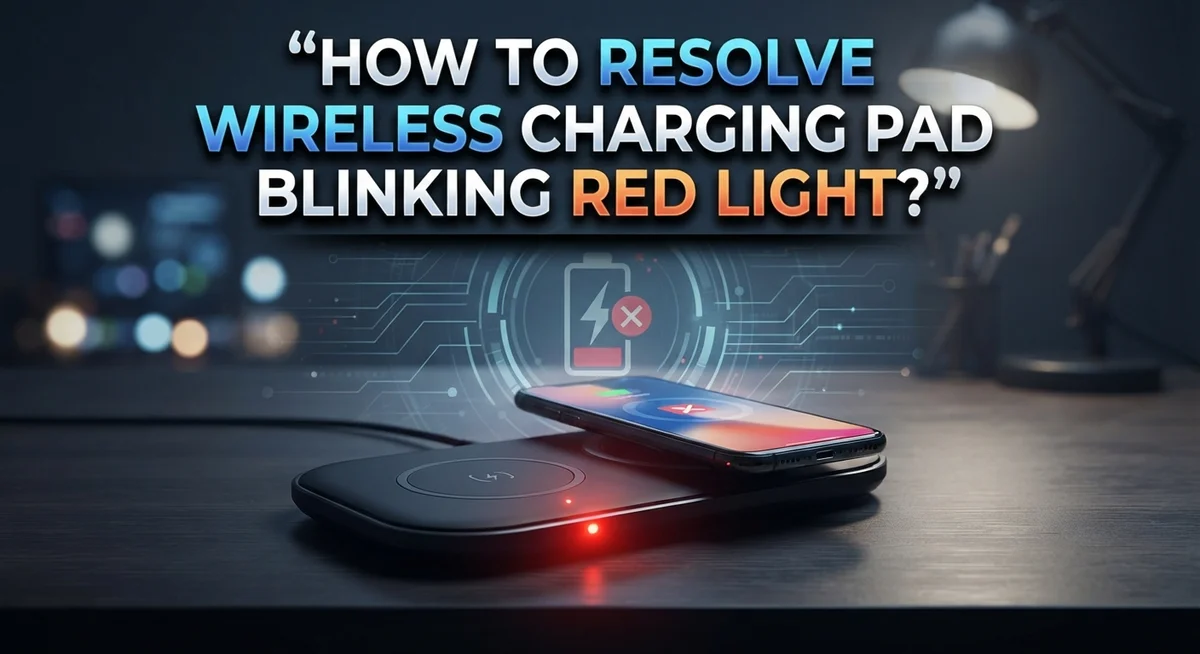
How To Resolve Wireless Charging Pad Blinking Red Light?
You set your phone down on the wireless charging pad and walk away. A few minutes later, you come back and notice a blinking red light instead of a full charge. Frustrating, right?
A blinking red light on a wireless charging pad usually means the device failed to complete its charging handshake. This is the communication process between your phone and the pad that allows charging to begin. When it fails, the pad signals the problem with that red blink.
The good news is that this does not always mean something is broken. In many cases, simple fixes like repositioning your phone or resetting the pad can solve the issue in seconds.
This article walks you through every common cause of a blinking red light on a wireless charging pad. You will also learn the exact steps to fix each one.
In a Nutshell
- A blinking red light means the wireless charging pad failed to complete a proper connection with your device.
- Repositioning your phone on the pad is the first and easiest fix to try. Place it about 3/4 inch from the indicator light for the best alignment.
- A wrong or mismatched power adapter is one of the most common causes. Always verify you are using the correct adapter for your specific charging pad model.
- Resetting the charger often resolves the issue. Unplug it from the power source, wait a few seconds, then reconnect it.
- Debris or obstructions on the charging surface can block the connection. Wipe the pad clean before placing your device back on it.
- If the light blinks with no device on the pad, that points to a potential hardware or power supply issue rather than a placement problem.
What Does a Blinking Red Light on a Wireless Charging Pad Mean?
A blinking red light on your wireless charging pad tells you something specific: the charging handshake between your pad and phone failed. This handshake is the initial communication that happens when you place your device on the pad.
Think of it like a conversation. Your phone says “hello” to the pad, and the pad should say “hello” back. When the red light blinks, that conversation never completed successfully. Your phone and pad couldn’t establish the connection needed to transfer power.
The important thing to know is that a blinking red light does not always mean your charger is broken. Many times, simple fixes solve the problem. The issue might be something you can resolve in seconds, like moving your phone a few millimeters in a different direction.
Several common situations cause this blinking light. Your power adapter might not match your specific charging pad model. Your phone might be sitting in the wrong spot on the pad. Dust or debris could be blocking the connection between your device and the charging surface.
Sometimes the pad itself needs a fresh start. Other times, a firmware update is available that fixes the communication problem.
The red blinking light is your pad’s way of telling you to pay attention. It is not an error message that means you need to replace anything immediately. Instead, it is a signal to troubleshoot what is happening between your phone and the pad.
The following sections walk you through each possible cause and show you exactly how to fix it. You will learn which steps to try first and when to consider other solutions.
Common Causes of the Red Blinking Light Issue
A blinking red light on your wireless charging pad signals a charging handshake failure. This means your pad and phone tried to connect but something interrupted the process. The connection attempt failed before charging could actually begin.
Think of it like a handshake between two people. Your phone and pad need to “greet” each other properly. When they do not complete this greeting, the red light blinks to alert you.
The most common cause is improper phone placement. Your device may be sitting slightly off center or too far from the charging coils inside the pad. Even a small shift in position can break the connection.
A mismatched power adapter ranks as the second biggest culprit. Wireless charging pads need specific power adapters with correct voltage and amperage. Using the wrong adapter means your pad cannot generate enough power to establish the handshake with your phone.
Debris and obstructions also prevent proper connection. Dust, lint, or dirt on the charging surface creates a barrier between your phone and the coils. Metal objects nearby can interfere with the wireless signal too.
Sometimes your pad simply needs a fresh restart. Electronic components can get stuck in error states. Unplugging the charger for a few seconds and reconnecting it clears this issue.
Less commonly, the power supply itself has failed. If the light blinks even with no device on the pad, your charger’s internal power system may be damaged. This requires more serious troubleshooting.
The good news is that most red blinking issues resolve quickly at home. You rarely need to replace the entire unit. Start with repositioning and resetting before investigating deeper causes.
How To Reset Your Wireless Charging Pad Step by Step
Resetting your wireless charging pad is one of the most effective ways to fix a blinking red light. This process gives your charger a fresh start and clears any temporary glitches that may have occurred.
Start by unplugging the charging pad from the electrical outlet. Leave it disconnected for at least 30 seconds. This waiting period allows the device’s internal circuits to fully discharge and reset. During this time, also remove your phone from the pad if it is still there.
After the 30 second wait, plug the charger back into the power outlet. Wait another 20 seconds before placing your phone on the pad. This gives the pad time to power up completely and establish a fresh connection with your device.
When you place your phone back on the pad, position it about 3/4 inch away from the indicator light on the surface. Proper alignment is critical for the charging handshake to work correctly. Keep your phone still and let it sit for at least 20 seconds without moving it.
Watch the light carefully during this time. If the blinking stops and the light becomes solid or turns green, your reset was successful. Your phone should now begin charging normally.
If the light continues to blink after this reset, try the repositioning techniques mentioned earlier. You may also want to verify that you are using the correct power adapter for your specific charger model. Sometimes a second reset works better than the first attempt, so do not hesitate to repeat these steps if needed.
How To Properly Position Your Phone on the Charging Pad
Proper phone positioning makes a huge difference when dealing with a blinking red light. Your wireless charging pad needs precise alignment to establish that charging handshake we discussed earlier.
Start by placing your phone in the center of the charging pad. Most pads work best when your device sits flat and straight on the surface. Avoid tilting or angling your phone at odd angles.
Position your phone approximately 3/4 inch away from the indicator light on the pad. This distance allows the charging coils to communicate properly. If your pad has a marked alignment zone, use it as your guide.
Remove any phone case that might be too thick. Some cases block the signal between your pad and phone. Thinner cases usually work fine, but test without one first to confirm.
Check that nothing sits between your phone and the pad surface. Even a small speck of dust or debris can interrupt the connection. Wipe both the pad and your phone’s back with a clean, dry cloth.
Keep your phone centered from side to side. Don’t place it at the edge of the pad where the signal weakens. The sweet spot is usually right in the middle of the charging surface.
Wait about 20 seconds after repositioning before assuming it failed. The charging handshake takes time to establish. Watch the light carefully during this period.
If the light still blinks after repositioning, try moving your phone slightly in different directions. Sometimes just an inch or two makes the connection work. Be patient and methodical with your placement adjustments.
Checking Your Power Adapter and Cable Compatibility
Your power adapter and cable are the lifelines of your wireless charging pad. When the red light blinks, an incompatible or faulty adapter often sits at the root of the problem.
Start by checking the adapter specifications. Look at the original documentation that came with your charging pad. Find the required voltage and amperage ratings. Your adapter must match these exact numbers. Using a higher or lower voltage adapter creates a charging handshake failure between your pad and phone.
Next, inspect your power cable for visible damage. Look along the entire length for cuts, fraying, or bent connectors. A damaged cable prevents proper power flow to your charging pad. Even small tears can cause the red blinking issue.
Test your cable with a different power outlet. Sometimes the outlet itself fails. Plug your adapter into another outlet in a different room. If the light stops blinking, your original outlet needs attention from an electrician.
Verify you are using the correct adapter for your specific pad model. Different charging pad models require different power supplies. An adapter from another device might fit physically but deliver incorrect power levels. Check your pad’s model number against the adapter specifications.
If you have another compatible adapter available, test it with your pad. This quick swap tells you whether your original adapter is the culprit. A working adapter confirms your pad functions properly.
Clean the connection points where your cable meets the pad. Dust and debris block electrical contact. Use a dry cloth to wipe both the cable connector and the pad’s input port. Reinsert the cable firmly into the port.
Once you verify adapter compatibility and cable condition, reconnect everything and wait 20 seconds before placing your phone back on the pad.
How To Inspect and Clean the Charging Surface
Start by examining the charging surface where your phone sits. Dust, dirt, and debris collect on this area over time. These particles block the connection between your phone and the pad, causing the red light to blink.
Use a soft, dry cloth to wipe the entire charging surface. Move the cloth in circular motions to remove any buildup. Pay special attention to the edges and corners where dust settles easily.
Check for visible damage on the pad surface. Look for cracks, scratches, or discoloration. These signs indicate the charging coils underneath may be damaged. If you find damage, the pad likely needs replacement.
Inspect the indicator light area closely. Sometimes debris accumulates right around the light itself. Gently clean this spot with a dry cloth or soft brush. Be careful not to press too hard on the light.
Examine your phone’s charging port as well. Remove lint and dust from the back of your phone where it contacts the pad. Use a soft cloth or a dry brush to clean this area thoroughly.
Check for any liquid damage on either surface. Water or moisture prevents proper charging connection. If you see moisture, let both the pad and phone dry completely before trying again.
Look underneath the pad if possible. Inspect the bottom surface and any vents for blockages. Blocked vents prevent proper heat dissipation, which can trigger the red light.
After cleaning both surfaces, wait a few minutes before placing your phone back on the pad. This allows any residual moisture to evaporate completely. Then test the charging connection again. A clean surface often resolves the blinking light issue without additional troubleshooting steps.
Updating Charger Firmware to Fix Persistent Red Light Errors
Firmware updates help your charging pad communicate better with your phone. When the red light keeps blinking, an outdated software version may be the culprit. The charger’s internal system controls how it recognizes and charges your device.
Check if your charger supports firmware updates. Not all wireless charging pads have this feature. Look at the manufacturer’s website or the documentation that came with your pad. Search for your specific model number to find update information.
Many chargers connect to companion apps on your smartphone. Download the official app if one exists for your pad. The app typically shows your charger’s current firmware version. You’ll see a notification if an update is available.
Connect your charging pad to power before updating. Make sure your phone has at least 50% battery remaining. Keep both devices close together during the process. Updates usually take just a few minutes to complete.
Don’t unplug your charger while an update is running. Interrupting the process can cause permanent damage. Wait for the app to confirm the update finished successfully.
After the update completes, restart your charger by unplugging it for 30 seconds. Plug it back in and wait for the indicator light to stabilize. Place your phone on the pad to test if the red blinking stops.
Firmware updates often fix communication errors between devices. This simple step resolves many red light problems. If the light still blinks after updating, the issue likely stems from physical damage or power supply problems rather than software issues.
Common Mistakes That Trigger the Red Blinking Light
Using the wrong power adapter is one of the biggest culprits behind that frustrating red blinking light. Each wireless charging pad model requires a specific adapter with the correct voltage and amperage rating. When you use a mismatched adapter, your pad cannot establish a proper charging handshake with your phone.
Placing your phone in the wrong position on the pad causes connection failures too. Most pads have a specific sweet spot, usually marked by an indicator light. Your phone needs to sit roughly 3/4 inch from this light for optimal alignment. Even slight shifts can break the connection and trigger the blinking red light.
Rushing through the reset process is another common mistake people make. When you unplug your charger, you need to wait a full 30 seconds before reconnecting it. This pause allows the pad to completely discharge and reset its internal systems. Plugging it back in too quickly prevents a proper restart.
Leaving debris on the charging surface creates invisible barriers between your phone and the pad. Dust, lint, and small particles block the electromagnetic connection. Many people assume their pad is broken when really they just need a quick cleaning with a soft, dry cloth.
Not allowing adequate time after repositioning your phone is another oversight. After you place your phone on the pad, wait at least 20 seconds before checking the light status. The charging handshake takes time to establish. Checking too soon might show the red light even though connection is forming.
Finally, ignoring firmware update notifications prevents your pad from communicating properly with modern phones. These updates fix compatibility issues and improve connection stability. Skipping them leaves your pad running outdated software that struggles with your device.
Final Thoughts
A blinking red light on your wireless charging pad is frustrating, but it almost always has a simple fix.
The light blinks because of a charging handshake failure — your pad and phone simply failed to connect properly.
This does not always mean something is broken.
Start with the basics every time. Reposition your phone about three-quarters of an inch from the indicator light on the pad. Small adjustments in placement fix the problem more often than you might expect.
If repositioning does not help, reset the charger. Unplug it from the power source, wait at least 20 seconds, then reconnect it. This clears minor communication errors quickly.
Always verify you are using the correct power adapter for your specific charging pad model. The wrong adapter is one of the most overlooked causes of the red blinking light.
Keep the charging surface clean and free of debris. Even tiny particles can interrupt the connection between your phone and the pad.
Check for firmware updates if your pad supports them. Updated software improves how your pad communicates with your phone, especially after phone operating system updates.
Remember that a blinking red light with no device on the pad is a separate concern and may point to a hardware issue worth investigating further.
The good news is that most red light problems resolve with simple steps: reset, reposition, and verify your power adapter.
Patience matters here. Allow adequate time after each step before assuming the problem persists.
With the right approach, your wireless charging pad should return to working smoothly and charging your device without interruption.
Frequently Asked Questions
Why is my wireless charging pad blinking red?
Your pad blinks red when it fails to establish a connection with your phone. This charging handshake failure happens when the two devices cannot communicate properly. The good news is this rarely means your charger is broken.
Does a red blinking light always indicate a problem?
Not necessarily. A red light often resolves with simple repositioning. Try moving your phone about three quarters of an inch from the indicator light on the pad. Sometimes the angle or placement just needs adjustment.
What’s the fastest way to fix the red blinking?
Start by resetting your charger. Unplug it from the power source and wait a few seconds. Plug it back in and place your phone on the pad. Allow about 20 seconds for the connection to establish. This simple reset fixes most blinking light issues.
Could I be using the wrong power adapter?
Yes, this is a common culprit. Verify you have the correct adapter for your specific charging pad model. Using the wrong adapter prevents proper power delivery and triggers the red light. Check your charger’s manual or the label on the back to confirm compatibility.
Should the light blink when no phone is on the pad?
No. If your pad blinks red without a device on it, this signals a potential issue. The charger may need a firmware update if your model supports one. Check the manufacturer’s companion app or website for available updates. A clean charging surface also matters. Remove any debris, dust, or protective cases that might block the connection between your phone and pad.

Hi, I’m Siya — the founder and writer behind Craftifyy.com. I’m a tech enthusiast who loves reviewing gadgets, comparing products, and helping people make smarter buying decisions. Got a question? Feel free to reach out!