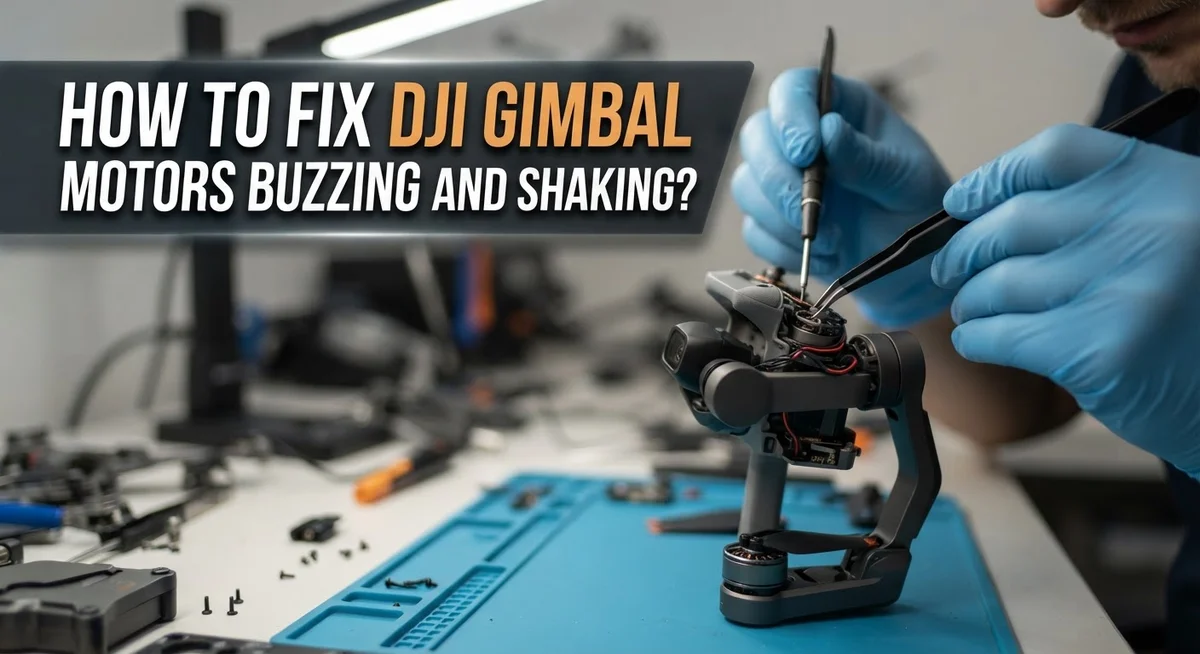
How To Fix DJI Gimbal Motors Buzzing And Shaking?
A buzzing or shaking DJI gimbal is one of the most frustrating problems a drone pilot can face. It ruins smooth footage and can signal a deeper mechanical issue that needs your attention fast.
The good news? Most gimbal motor problems have simple, fixable causes. Dust, loose components, and calibration issues are usually the culprits. You do not always need to send your drone in for expensive repairs.
This guide walks you through every step to diagnose and fix DJI gimbal motors that are buzzing and shaking. You will learn how to clean the motors properly, recalibrate your gimbal, and handle loose or cracked arms.
We also cover the most common mistakes pilots make that actually cause or worsen the problem. Skipping these fixes can lead to permanent motor damage over time.
In a Nutshell
Dust and sand in the bearings are the most common reasons DJI gimbal motors buzz and shake. A quick blast of low-pressure compressed air can clear debris fast.
Loose or cracked gimbal arms cause vibration and instability. Check all arms carefully before each flight.
Protective accessories like gimbal clamps and covers can block motor movement. Always remove them before powering on your drone.
Recalibrating the gimbal on a flat, level surface fixes most alignment-related shaking. This step is often skipped but makes a big difference.
Firmware issues can also trigger abnormal motor behavior. Reloading the latest firmware is a simple fix worth trying.
Never fly without balancing the gimbal arms first. Unbalanced arms put extra stress on the motors and make buzzing worse over time.
Why Are Your DJI Gimbal Motors Buzzing and Shaking?
Gimbal motors buzz and shake for several specific reasons. Understanding these causes helps you fix the problem quickly.
Dust and sand get trapped inside the motor bearings over time. This debris creates friction and causes the motor to vibrate. If you fly near beaches, deserts, or dusty areas, this happens faster.
Loose gimbal arms are another major culprit. The arms connect to the motor axles. When these connections loosen, the entire gimbal shakes during operation. Cracked arms make this worse because they cannot hold steady.
Misaligned motor axles happen when components shift slightly. The motor shaft no longer spins in perfect alignment. This creates buzzing sounds and visible shaking in your video footage.
Protective accessories block motor movement more often than pilots realize. Gimbal clamps, protective covers, and vibration absorbing pads can interfere with normal motor function. These items should come off before flying.
Unbalanced gimbal arms put extra stress on the motors. When the arms are not balanced, motors work harder to stabilize. This accelerates wear and increases buzzing sounds.
Calibration issues develop after cleaning or after the gimbal experiences impact. The gimbal loses its reference point for level movement. Motors then struggle to find the correct position.
Firmware problems occasionally trigger abnormal motor behavior. Outdated firmware can cause communication errors between the gimbal and your drone’s control system.
The good news? Most causes have simple fixes. Compressed air cleaning, recalibration, and tightening loose components solve the majority of buzzing and shaking problems. Start with these basic steps before considering professional repair.
How To Inspect Your Gimbal for Visible Damage and Debris
Start your inspection on a clean, flat surface. Remove your drone from its case and place it on a table where you have good lighting. Take your time here because visible damage often tells you exactly what’s wrong.
First, remove all protective accessories. Take off the gimbal protector, clamp, and any vibration absorbing pads. These items can block motor movement and create buzzing sounds even when the motors work fine. Set them aside carefully.
Look closely at the gimbal arms. Scan for cracks, bends, or warping. Run your fingers gently along each arm to feel for damage you might miss with your eyes. Cracked arms are a major buzzing culprit because they vibrate during motor operation.
Check the motor axles next. These are the small shafts that spin the motors. Look for any visible misalignment or bending. The axles should sit straight and centered in their mounts.
Inspect the motor bearings. Use a flashlight to peer inside the motor housing. Look for dust, sand, or debris trapped around the bearing areas. Dust accumulation is the number one cause of buzzing.
Examine all connection points and screws. Loose fasteners cause shaking and vibration. Gently try to wiggle the gimbal arms by hand. They should feel solid with no rattling or movement.
Check for any bent or twisted components around the motor mounts. Look at the wiring too. Make sure no cables are pinched or damaged.
Once you finish your visual inspection, manually move the gimbal through its full range of motion. Do this slowly and gently. Listen and feel for any grinding, clicking, or unusual resistance. This hands on check often reveals problems that photos alone would miss.
How To Clean DJI Gimbal Motors With Compressed Air
Compressed air is one of the fastest ways to remove dust and debris from your DJI gimbal motors. This method works well because it reaches tight spaces where brushes cannot go.
Before you start, remove all protective accessories from your gimbal. Take off the gimbal protector, clamp, and any vibration absorbing pads. These items can block airflow and prevent you from cleaning effectively.
Set your compressed air canister to low pressure. High pressure can damage delicate motor components and push debris deeper into the bearings. Hold the canister upright and use short bursts rather than one long spray.
Point the air nozzle at each motor from different angles. Spray around the motor shaft, the bearing areas, and any visible gaps. Work slowly and let the air do the cleaning without forcing it.
Pay special attention to the three main gimbal motors: pan, tilt, and roll. Dust accumulates fastest in these areas because they move constantly during flight. Rotate each motor gently by hand while spraying to help dislodge trapped particles.
After cleaning, gently move the gimbal through its full range of motion. This helps settle any remaining loose particles and lets you feel if the motors still buzz or shake.
Let the gimbal sit for a few minutes after compressed air cleaning. This allows any moisture from the air to evaporate completely.
Once the gimbal dries, proceed with recalibration on a level surface. Recalibration is essential because dust removal changes how the motors respond. Without this step, your gimbal may still shake even though you cleaned it thoroughly.
How To Fix Loose or Cracked Gimbal Arms
Loose or cracked gimbal arms cause buzzing and shaking because they allow excessive movement during operation. When the arms aren’t secure, the motors work harder to stabilize your footage.
Start by inspecting both gimbal arms carefully. Look for visible cracks, splits, or stress marks along the length of each arm. Gently flex each arm by hand to feel for unusual play or wobbling at the connection points.
Tighten all visible screws and fasteners around the gimbal arm connections. Use the appropriate screwdriver size to avoid stripping the screws. Check that the arms sit flush against their mounting points without gaps.
If you find a loose connection, remove the arm completely and reattach it. Make sure it clicks or seats fully into place. Some gimbal arms have a specific orientation, so pay attention to how they fit.
For minor cracks, super glue can provide a temporary fix if the crack is small and clean. Apply glue to both surfaces, hold them together for the recommended time, and let it cure fully before operating your gimbal.
Significant cracks require professional repair or arm replacement. Operating with severely cracked arms risks complete motor failure or loss of gimbal function during flight.
After securing loose arms, use a thin zip tie around both gimbal arms to apply gentle inward pressure. This temporary mitigation reduces stress on the motors while you arrange professional service if needed.
Always balance your gimbal arms before each flight. Unbalanced arms combined with loose connections multiply motor stress and worsen buzzing problems.
Test your gimbal slowly after repairs. Move it through its full range gently to confirm smooth operation before your next flight.
How To Recalibrate Your DJI Gimbal After Cleaning
Recalibration is essential after cleaning your DJI gimbal. This process resets the motor positions and ensures smooth operation. Your gimbal needs to know its neutral point to function correctly.
Start by placing your drone on a completely level surface. Use a bubble level or check that your work table is flat. An uneven surface causes inaccurate calibration and continued buzzing.
Open the DJI app on your mobile device. Connect your drone via USB cable or wireless connection. Navigate to the camera settings menu. Look for gimbal calibration or gimbal tuning options in the advanced settings.
The app will guide you through the calibration process. Do not move or touch the gimbal during this time. Let the motors run through their full range automatically. This typically takes two to five minutes.
You’ll see progress indicators on your screen showing calibration status. Wait until the process completes fully. Stopping early creates incomplete calibration and leaves buzzing problems unsolved.
After calibration finishes, manually move the gimbal through its complete range of motion. Test the pan, tilt, and roll movements. The gimbal should move smoothly without grinding sounds or hesitation.
If buzzing persists after recalibration, reload your gimbal firmware. Check the DJI website for the latest firmware version. Outdated firmware sometimes causes motor control issues.
Test your gimbal in all directions before your next flight. Point it up, down, left, and right. Verify that movements are fluid and vibration free.
Recalibration after cleaning removes any software confusion about motor positions. Combined with physical cleaning, recalibration fixes most buzzing and shaking problems. This simple step takes minutes but delivers significant results.
How To Reload or Update DJI Gimbal Firmware
Reloading or updating your DJI gimbal firmware can fix buzzing and shaking issues that persist after physical cleaning and recalibration. Firmware updates often include motor control improvements and bug fixes that address stability problems.
Start by connecting your drone to your computer using the USB cable. Open the DJI Assistant software on your computer. The software will detect your drone and check for available firmware updates. Your gimbal firmware version will appear on the screen.
Before updating, make sure your battery is fully charged. A low battery during the update process can cause the firmware installation to fail or become corrupted. This creates bigger problems than the original buzzing issue.
Click the update button when prompted. The software will download the latest firmware file for your gimbal. This process takes several minutes depending on your internet speed. Do not disconnect your drone during this time.
The gimbal motors may move or make unusual sounds during the firmware installation. This is normal behavior. Let the process complete without interruption.
After the update finishes, restart your drone completely. Power it off, wait 30 seconds, then power it back on. This allows the new firmware to fully initialize.
Once your drone restarts, recalibrate the gimbal again using the DJI app. The new firmware may have different calibration parameters than the previous version. Recalibration ensures the motors work smoothly with the updated software.
Test your gimbal movement in all directions before flying. Move the pan, tilt, and roll axes through their complete ranges. Listen for any remaining buzzing sounds. If problems persist after firmware update and recalibration, the issue likely involves hardware damage requiring professional repair.
Common Mistakes That Cause Gimbal Motor Problems
Many people don’t realize their gimbal problems come from simple mistakes during operation or maintenance. Understanding these errors helps you avoid costly repairs and keep your drone working smoothly.
Operating without balanced gimbal arms is one of the biggest mistakes. Your motors work much harder when the arms are unbalanced. This extra strain causes buzzing and shaking over time. Always check that both arms move freely and feel equal in weight before flying.
Protective accessories often cause motor issues that people overlook. Gimbal protectors, clamps, and vibration absorbing pads can block motor movement if not removed properly. Many users forget these parts stay on during operation. Remove all protective gear before your first flight or test.
Skipping calibration after cleaning creates software confusion. Your gimbal’s internal sensors lose track of motor positions when dust gets cleared away. The motors then work against incorrect information, causing vibrations and noise. Recalibration takes just minutes and solves this problem completely.
Ignoring dust accumulation is another frequent error. Sand and dust sneak into motor bearings during outdoor flights. This buildup blocks smooth rotation and forces motors to work harder. Regular compressed air cleaning prevents this damage before it starts.
Loose components get ignored too often. Gimbal arms can shift slightly after crashes or rough landings. Users assume everything is fine without checking. A quick visual inspection of all connections catches loose parts early.
Forcing gimbal movement by hand after noticing problems makes things worse. Rough manual testing can damage internal components further. Instead, gently move the gimbal through its range of motion to test it properly.
These mistakes compound over time. Catching them early prevents major motor failure and expensive repairs.
Tips To Prevent DJI Gimbal Buzzing and Shaking in the Future
Prevention is far easier than repair. Your gimbal stays healthy when you follow simple habits before and after each flight.
Protect from dust and sand during outdoor operations. These particles sneak into motor bearings and cause buzzing within weeks. Keep your drone in a protective case when not flying. Avoid flying in sandy or dusty environments whenever possible. If you must fly in harsh conditions, clean your gimbal immediately after landing.
Balance your gimbal arms before every flight. Unbalanced arms force motors to work harder, leading to premature wear and shaking. Gently move each arm by hand to check for resistance. The arms should move smoothly without sticking or grinding sounds.
Store your drone properly between flights. Remove protective clamps, vibration pads, and gimbal guards when not in use. These accessories can shift during storage and interfere with motor function. Keep your drone in a cool, dry place away from humidity.
Perform gentle manual checks weekly. Slowly move the gimbal through its complete range of motion. Listen for grinding or clicking sounds. Feel for unusual resistance. Catch problems early before they worsen.
Recalibrate regularly even without visible issues. Monthly calibration keeps software aligned with hardware positions. This prevents the confusion that leads to buzzing and shaking.
Handle your drone carefully during transport. Rough movement can loosen internal components and crack gimbal arms. Use padded cases for protection. Avoid dropping or bumping your equipment.
These prevention steps take minutes but save hours of troubleshooting. Consistent maintenance keeps your gimbal smooth and quiet for years of reliable performance.
Final Thoughts
DJI gimbal motors buzzing and shaking is a fixable problem in most cases. The key is working through each cause systematically rather than jumping to conclusions.
Dust and debris are the most common culprits. A quick cleaning with compressed air often solves the buzzing immediately. Always follow up cleaning with a proper recalibration.
Loose gimbal arms and misaligned axles need physical attention. Securing them with threadlocker and clamping overnight gives the best results. Don’t skip the curing time.
Firmware issues can mimic physical problems. If cleaning and tightening don’t help, reloading or updating your firmware is the logical next step. Always recalibrate after any firmware change.
Protective accessories are often overlooked as a cause. Removing gimbal protectors, clamps, and vibration-absorbing pads before operation eliminates unnecessary motor interference.
The order of troubleshooting matters. Start simple with cleaning and accessory removal. Move to recalibration. Then address firmware. Finally, look at physical repairs for cracked or loose components.
Cracked gimbal arms are serious but not always fatal. Super glue can work as a temporary fix, but professional repair is worth considering for long-term reliability.
Consistency in maintenance is what keeps these problems from returning. Balancing arms before flights, protecting from dust, and recalibrating regularly prevents most buzzing issues before they start.
Most gimbal motor problems don’t require expensive repairs or replacements. Patience and a systematic approach solve the majority of cases at home.
If buzzing and shaking persist after trying every step, contact DJI support directly. Some internal motor damage genuinely requires professional servicing to fix properly.
Frequently Asked Questions
Why is my DJI gimbal making a buzzing noise?
Buzzing usually comes from dust or sand stuck in the motor bearings. When particles get inside, the motor struggles to spin smoothly. Loose gimbal arms can also buzz because they vibrate against the motor housing. Misaligned motor axles create friction that produces the buzzing sound too.
Start by removing any protective clamps or vibration pads. Use compressed air on low pressure to blow dust out from around the motors. Let the gimbal sit level and recalibrate it using the DJI app after cleaning.
Can I fix a shaking gimbal myself?
Yes, most shaking problems are fixable at home. First, check if your gimbal arms are balanced. Unbalanced arms force motors to work harder, causing vibration.
Next, clean the motors with compressed air. Then recalibrate on a flat surface. If shaking continues, your motor axles might be loose. Apply threadlocker to secure them and let it dry overnight.
What should I do if my gimbal arm is cracked?
A cracked arm is more serious than buzzing or shaking. Super glue can work for small cracks as a temporary fix. However, professional repair is safer for your gimbal’s long term health.
Stop flying immediately if you notice cracks. Continuing to use a damaged gimbal can make problems worse and affect video quality.
Why does my gimbal still buzz after cleaning?
If buzzing persists after cleaning and recalibration, try reloading your firmware. Software glitches can mimic physical problems. Download the latest firmware through the DJI app and reinstall it completely.
If buzzing returns, contact DJI support. Your motor might need professional inspection or replacement.

Hi, I’m Siya — the founder and writer behind Craftifyy.com. I’m a tech enthusiast who loves reviewing gadgets, comparing products, and helping people make smarter buying decisions. Got a question? Feel free to reach out!