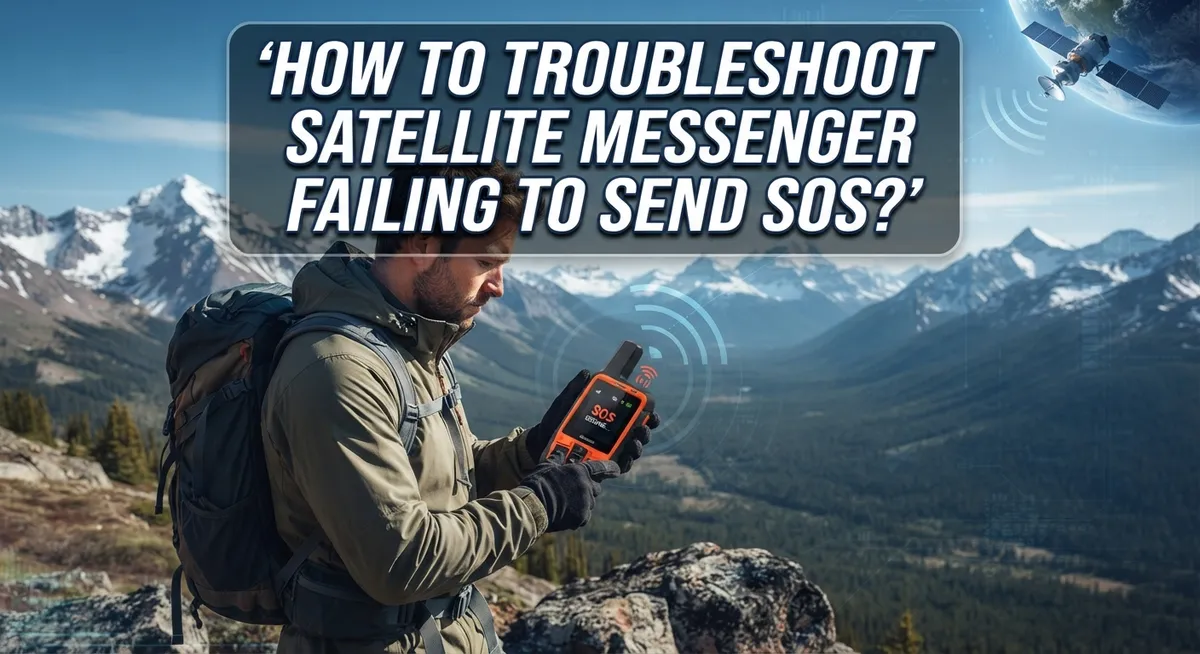
How To Troubleshoot Satellite Messenger Failing To Send SOS?
You are deep in the wilderness. Your satellite messenger refuses to send an SOS. This is one of the most terrifying situations any outdoor adventurer can face.
Satellite messengers are lifelines when there is no cellular signal. They connect you to search and rescue teams during true emergencies. But like any technology, they can fail at the worst possible moment.
Understanding why your device is not sending an SOS can save your life.
The problem is usually something fixable. A blocked sky view, an expired subscription, or a missing pre-configured message can all stop an SOS from going through.
This guide walks you through every common reason a satellite messenger SOS fails. You will learn how to check your satellite signal, verify your subscription status, and set up your device correctly before your next trip.
Let’s get your device working reliably.
In a Nutshell
- Check your satellite signal first. Move to an open area with a clear view of the sky. Trees, cliffs, and buildings can block the signal your device needs to send an SOS.
- Verify your subscription is active. A lapsed or inactive satellite service plan will prevent any message from going through, including emergency alerts.
- Pre-loaded custom messages matter. Some devices require you to set up emergency messages through the companion app before your trip. Skipping this step can cause SOS failures in the field.
- Test your device before you leave. Many people discover problems only when they need help most. A quick test at home can reveal issues early.
- Know your device’s exact SOS procedure. Different models have different button sequences and confirmation steps. Using the wrong process can delay or prevent the alert from sending.
- Understand the difference between a PLB and a satellite messenger. They work differently and have different protocols. Knowing which one you have helps you troubleshoot correctly.
How Satellite Messenger SOS Works
A satellite messenger works by connecting your device to orbiting satellites instead of ground based cell towers. When you press the SOS button, your device sends a distress signal up to these satellites. The satellites then relay your location and emergency status to rescue coordination centers.
Here’s the basic flow: Your device calculates its GPS position and encrypts your emergency message. This data travels upward to satellites passing overhead. The satellites transmit your signal to ground stations. From there, emergency responders receive your location and contact information.
The system requires a clear line of sight to the sky. Satellites orbit in predictable paths, so your device must wait for one to pass within range. This typically takes seconds to a few minutes depending on satellite availability and your location.
Your device needs an active subscription to function. This service plan allows the satellite network to route your SOS to the correct rescue center. Without active service, the satellites will receive your signal but won’t know where to send it.
Pre configured messages are crucial. Most satellite messengers let you customize emergency alerts through a companion app. You set these messages before your trip. When you trigger SOS, your device sends these pre loaded messages automatically.
The device also collects your emergency contact information during setup. Rescue coordinators use this data to reach your family and determine the type of help you need.
Different devices use different satellite networks and protocols. Some use one network exclusively. Others use multiple networks for better coverage. Understanding your specific device’s system helps you troubleshoot problems faster when issues arise in the field.
Check Your Satellite Signal and Sky View
Your satellite messenger needs a clear path to the sky to send an SOS. This is the first thing to check when your emergency message fails.
Move to the most open area available. Step away from trees, cliffs, buildings, and dense vegetation. These obstacles block the radio signals traveling between your device and the satellites overhead. Even a few branches can weaken your connection enough to prevent message delivery.
Look up and scan the sky. Your device needs to “see” multiple satellites at once. If you are in a valley, canyon, or surrounded by tall structures, move to higher ground. Climb a hill or ridge if possible. Open areas like meadows, beaches, and ridges work best for acquiring satellite signals.
Check the sky view indicator on your device. Most satellite messengers display a visual map showing which parts of the sky have satellite coverage. This tells you exactly where the satellites are located. Point your device toward the open sections of sky. Some devices work better when held at specific angles.
Wait for signal acquisition. After moving to open sky, give your device 30 to 60 seconds to lock onto satellites. The display will show when you have a strong connection. A weak signal may prevent SOS transmission, so wait until you see a strong reading.
Avoid sending from inside vehicles or tents. Metal roofs and heavy fabric block signals. Step outside completely when attempting to send an emergency message. Even sitting under a large rock overhang can interrupt your connection.
Poor signal is the most common reason SOS messages fail. Fix this first before checking other potential problems.
Verify Your Subscription and Device Activation Status
Your satellite messenger needs an active subscription to send any SOS message. Without current service, your device cannot connect to the satellite network, even if everything else works perfectly.
Start by checking your subscription status through the companion mobile app. Log into your account and look for your device’s service plan details. The app shows your renewal date and whether your subscription is active or expired. If your plan lapsed, you cannot send SOS messages until you renew it.
Next, confirm your device itself is properly activated. Some devices require initial activation after purchase or after a long period of non use. Check the app to see if your device shows as “active” or “registered” on the network. A device that appears offline or unregistered will fail to send emergency alerts.
Verify that your device is linked to the correct account. If you recently changed phone numbers, email addresses, or switched devices, your messenger may have disconnected from your account. Remove the device from your account and re pair it fresh. This simple step fixes many activation problems.
Look for any service holds or account flags. Some providers pause service if they detect unusual activity or billing issues. Check your account settings for notifications about holds or restrictions.
Test your subscription by sending a regular message first, not an SOS. A standard message uses the same satellite connection as an emergency alert. If regular messages fail, your subscription or activation has a problem that needs attention before you rely on SOS functionality.
Contact your service provider’s customer support if your subscription appears active but your device still shows as offline. They can manually verify your account status and reactivate your device if needed.
Step-by-Step Guide To Sending an SOS When the Device Fails
When your satellite messenger fails to send an SOS, you need a backup plan. Start by attempting a traditional emergency call using your phone if you have any cellular signal at all. This remains your fastest option for immediate help.
If cellular fails, switch to text based emergency messaging. Many satellite messengers allow you to send emergency texts instead of voice calls. This method often works when voice signals cannot connect.
Activate your device’s SOS or SAR button according to your specific model’s instructions. Hold it down for the required duration. Your device will prompt you to answer emergency response questions. Provide accurate information about your situation, location, and the type of help you need.
While waiting for rescue, keep your device powered on and positioned toward open sky. Do not move it or cover it. Rescuers use your device’s signal to locate you, so stability matters.
If your SOS still fails to send, try these actions. Power cycle your device completely. Wait 60 seconds, then power it back on. Move to the highest elevation point nearby with the clearest sky view. Climb a hill or move away from dense forest if possible.
Send a regular (non emergency) message to test basic functionality. If regular messages work but SOS fails, your subscription may have restrictions. Contact your service provider immediately.
Document what happens. Note the exact time you attempted to send, your location, sky conditions, and any error messages displayed. This information helps rescuers understand your situation and helps customer support diagnose the problem later.
How To Pre-Configure Messages Before Your Trip
Pre-configuring messages before your trip is one of the most important steps you can take. This preparation ensures your device works when you need it most.
Start by opening your satellite messenger’s companion app on your phone. Navigate to the messages section and review all available options. Most devices let you create custom SOS messages, check-in messages, and general updates.
Create multiple pre-configured messages for different situations. Write a basic SOS message that includes your name and that you need emergency help. Add another message for non-emergency situations, like letting friends know you’re safe. Having these ready means you won’t fumble with typing during an actual emergency.
Test each message before you leave. Send a practice message to verify it transmits correctly. This confirms your setup works and your subscription is active. Don’t wait until you’re in the wilderness to discover problems.
Save any emergency contacts directly into your device. Include your home address, medical conditions, and emergency contact names. This information helps rescuers respond faster if they reach your device.
Verify that all messages are actually stored on your device itself, not just in the app. Some devices require you to sync messages to the hardware before you lose cellular connection. Check your device manual for specific sync instructions.
Review your message list one more time before departure. Make sure nothing got deleted accidentally. Confirm the device displays all your pre-configured messages when you navigate through the menu.
Taking these steps now prevents frustration and potential delays when sending an SOS. Your preparation directly impacts how quickly help arrives.
Common Mistakes That Prevent SOS From Sending
Many satellite messenger users make simple mistakes that prevent their SOS from sending when they need it most. Understanding these errors helps you avoid them before an emergency happens.
Not pre loading custom messages is the biggest mistake people make. Your device needs emergency messages stored directly on it before you leave for your trip. If you only save messages in the app, they won’t send during an SOS. Load multiple messages covering different scenarios like “medical emergency,” “lost,” or “equipment failure.”
Skipping the pre trip test causes serious problems. Never assume your device works until you actually test it. Send a regular message to a contact before heading into remote areas. This confirms your subscription is active and your device connects to satellites properly.
Assuming cellular backup exists in wilderness areas leads to dangerous delays. Many people think they can use their phone if the satellite messenger fails. Remote areas often have zero cell coverage. Plan for satellite messaging as your only option, not your backup.
Ignoring subscription status stops SOS messages cold. An expired or inactive subscription prevents all emergency communication. Check your account status through the companion app before each trip. Look for service holds or payment issues that might disable your device.
Positioning your device poorly blocks satellite signals. Keep your device outside with clear sky view when sending SOS. Don’t activate it inside vehicles, tents, or under trees. Position it upward toward open sky for the best signal acquisition.
These mistakes are preventable with simple preparation and testing before your trip.
Device-Specific Troubleshooting Tips for Popular Satellite Messengers
Different satellite messenger models work in different ways. Your device’s specific procedures matter when troubleshooting SOS failures.
Garmin inReach devices use a dedicated SOS button on the unit itself. Press and hold this button for three seconds. The device will ask you to confirm the emergency. You must answer yes to send the alert. If your message won’t send, check that you have clear sky view above you. Garmin devices need a direct line of sight to satellites. Clouds and dense trees block signals.
Spot Gen4 and similar models have a different activation process. These devices have a dedicated button marked for emergencies. Press this button once to start the SOS sequence. The device will display confirmation options on its small screen. You’ll need to confirm your emergency status before transmission begins. Spot devices also require an active subscription to function.
Other satellite messengers may use button combinations or app based activation. Some require you to hold multiple buttons simultaneously. Others let you trigger SOS through their companion smartphone app. Check your device’s manual for exact procedures.
Before your trip, practice activating your specific model’s SOS feature at home. This prevents confusion during a real emergency. Test the button press sequence multiple times.
Device specific differences also affect message content. Some messengers send only location data. Others transmit your pre configured message to rescue teams. Know what information your device actually sends during an emergency.
Visit your device manufacturer’s website for your exact model number. Download the official user manual. This document contains your model’s specific SOS procedures. Following these precise steps increases your chances of successful emergency communication.
How To Test Your Device Before Heading Into the Field
Testing your device before heading into the field is the single best way to catch problems early. You want everything working perfectly when you actually need it. Start by powering on your satellite messenger in an open area with a clear sky view. This matters because your device needs to lock onto satellites to function properly.
Next, check that your device shows an active satellite signal. Most units display signal strength on the screen. Wait a few minutes if needed, as acquiring satellites takes time. A strong signal means your device can communicate when you need it most.
Activate your SOS button or feature in test mode if your device offers this option. Some messengers have a dedicated test function that doesn’t trigger actual emergency services. This lets you verify the button works without causing false alarms. Check your device manual for the exact testing procedure for your specific model.
Send a test message to a trusted contact. This confirms that your pre configured messages actually transmit and arrive. Have your contact confirm they received it and note how long delivery took. Real satellite messages can take several minutes, so expect delays.
Verify your subscription status is active and current. Many devices show subscription information on screen or through the companion app. An expired subscription stops SOS messages completely, so double check this before your trip.
Finally, review your emergency contacts one more time. Make sure phone numbers are correct and stored directly on your device. Test the device in various positions to see how angle affects signal strength. This teaches you the best way to hold it when you need to send a real SOS in the field.
Final Thoughts
A satellite messenger that fails to send an SOS can be a life-threatening problem. The good news is that most failures come from simple, preventable causes.
Start with the basics every time. Check your satellite signal first, then confirm your subscription is active. Make sure your custom messages are loaded directly onto the device, not just saved in the app.
Clear sky view matters more than most people realize. Move away from trees, buildings, or canyon walls if your signal is weak. Give your device a few extra minutes to acquire a strong satellite connection before you try again.
Always test your device before any remote trip. A quick test at home can reveal subscription issues, missing messages, or signal problems before they become emergencies in the field.
Know your specific device’s SOS activation steps. Different models use different button combinations and protocols. Practicing the steps at home means you won’t fumble with them under stress.
Pre-loading custom messages is not optional. This step is often skipped, and it is one of the most common reasons an SOS fails to send properly on certain devices.
Never assume cellular service will be available as a backup. In true wilderness areas, your satellite messenger may be your only option, so it needs to work perfectly.
Preparation is the most powerful troubleshooting tool you have. Check your subscription, load your messages, test your signal, and practice your activation steps before every trip.
A working satellite messenger starts with a prepared user. Take the time to get everything right before you leave, and your device will be ready when you need it most.
Frequently Asked Questions
Why is my satellite messenger showing a signal but the SOS still won’t send?
A signal bar does not always mean a strong connection. Your device needs a clear line of sight to satellites. Even one tree branch or building corner can block transmission. Move to open ground away from overhead obstructions. Wait 30 seconds for the device to lock onto satellites. Then try sending again. If the problem continues, your subscription may have lapsed.
What should I do if my custom emergency message didn’t load onto the device?
Custom messages must sync through your phone app before you leave. Connect your device to the app and confirm the message appears on screen. Do not assume it saved automatically. Test by sending a practice message to yourself. If nothing arrives, delete the message and reload it. Some devices require you to manually confirm each message before the trip starts.
Can I send an SOS if my device battery is very low?
Low battery drains power needed for satellite connection. Your device may show a signal but fail to transmit. Charge your device fully before any remote trip. Bring an extra power bank or solar charger as backup. If your battery drops below 20 percent in the field, conserve power by turning off the screen and sending only essential messages.
What’s the difference between my device’s SOS button and regular messaging?
Regular messages use less power and transmit faster. SOS alerts go directly to search and rescue with your exact location. SOS should only activate during real emergencies. Know your device’s specific button or menu steps before you need it. Practice the activation process at home so you react correctly under stress.

Hi, I’m Siya — the founder and writer behind Craftifyy.com. I’m a tech enthusiast who loves reviewing gadgets, comparing products, and helping people make smarter buying decisions. Got a question? Feel free to reach out!