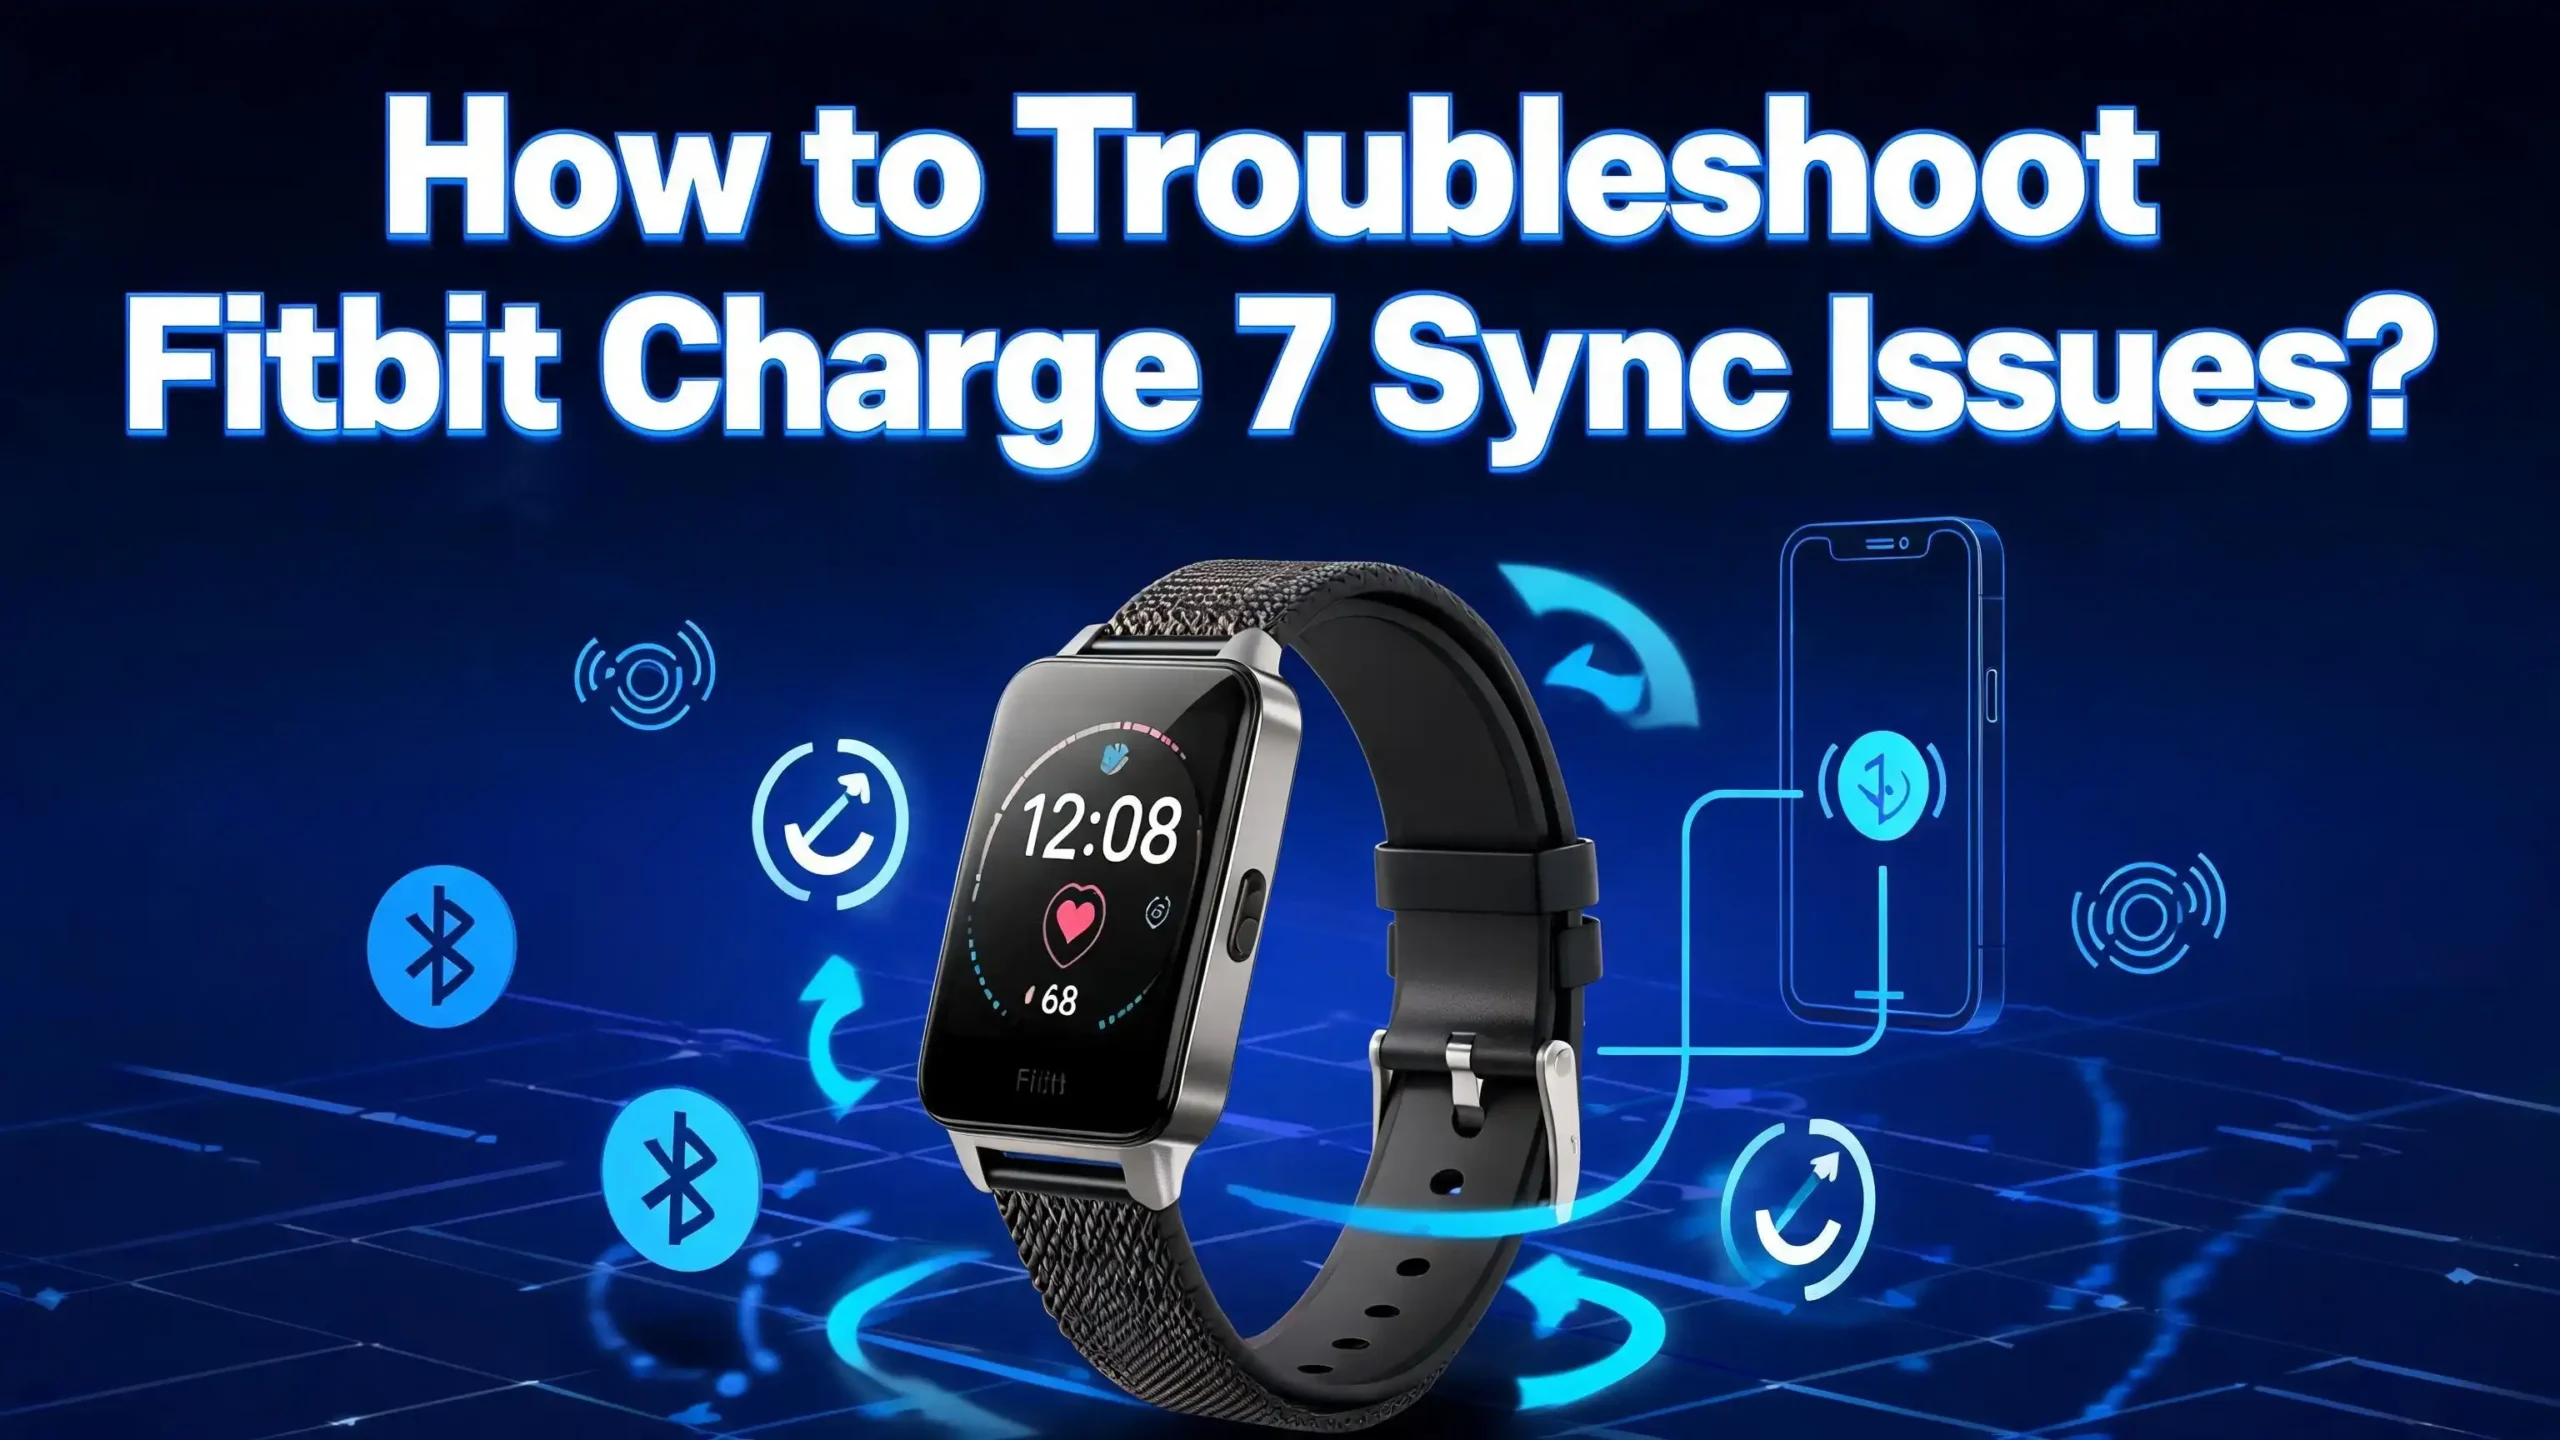
How to Troubleshoot Fitbit Charge 7 Sync Issues?
Your Fitbit Charge 7 just stopped syncing. You pull down on the Google Health app, wait for the progress bar, and nothing happens. Your steps from this morning are missing. Your sleep data from last night never showed up. Sound familiar?
Sync failures are one of the most common problems Fitbit Charge owners face. The Fitbit Charge 7, like its predecessors, relies on a stable Bluetooth connection between your wrist and your phone. Any small disruption in that chain can cause your data to vanish into thin air.
The good news is that most sync issues have simple fixes. You do not need to be a tech expert to solve them. This guide walks you through every proven solution, from a quick Bluetooth toggle to a full factory reset. Each fix takes just a few minutes, and one of them will almost certainly get your tracker back on track.
In a Nutshell
- Bluetooth is the most common culprit. Turning Bluetooth off for at least three seconds and turning it back on solves a surprising number of Fitbit Charge 7 sync failures. Always start here before you try anything else.
- Keep your Google Health app and phone software up to date. Outdated app versions and old operating systems cause compatibility problems that block your Charge 7 from syncing correctly.
- Remove competing Bluetooth connections. If you have other Fitbit devices, smartwatches, or Bluetooth accessories paired to the same phone, they can interfere with your Charge 7 sync process.
- Force close the Google Health app and restart it. A frozen or glitchy app session will stop your data from transferring. Closing the app completely and reopening it often clears the problem.
- A factory reset is a last resort, not a first step. You will lose any unsynced data stored on the device. Try every other fix in this guide first. If nothing else works, a reset can give your Charge 7 a clean start.
- Check your phone permissions. Your Charge 7 needs Bluetooth, location, and nearby device permissions enabled on your phone. Missing permissions will silently block the sync.
Why Does the Fitbit Charge 7 Fail to Sync?
The Fitbit Charge 7 uses Bluetooth Low Energy (BLE) to send your health and fitness data to the Google Health app on your phone. This connection depends on several things working at the same time.
Your phone’s Bluetooth radio must be active. The Google Health app must have the correct permissions. Your phone needs an active internet connection so the app can upload data to your account. If any single link in this chain breaks, your sync will fail.
Common causes include a drained tracker battery, too many Bluetooth devices competing for your phone’s attention, and app glitches. Software updates on your phone or the app itself can also introduce temporary bugs that block syncing.
Sometimes the issue is even simpler. Your Charge 7 might be too far from your phone. Bluetooth Low Energy has a range of about 30 feet, but walls, furniture, and other electronics can shorten that distance. Always keep your tracker and phone close together during a sync attempt.
Server outages on Google’s end can also prevent syncing. If none of the fixes below work, check online forums or Google’s support page to confirm the servers are operating normally.
Restart Your Fitbit Charge 7
A restart clears temporary software glitches on your tracker. This is the fastest fix you can try, and it works more often than most people expect.
To restart your Fitbit Charge 7, press and hold the side button on the tracker. Keep holding until you see the Fitbit logo appear on the screen. Release the button once the logo shows up. Your device will reboot and should be ready to sync again within a few seconds.
A restart does not erase any data on your tracker. Your steps, heart rate readings, and sleep data will stay stored on the device. The restart simply refreshes the software and clears any frozen processes that may have been blocking your sync.
If your Charge 7 is completely unresponsive to a button press, try placing it on its charger first. A critically low battery can prevent the device from restarting. Let it charge for at least 15 minutes and try the restart process again.
After restarting, open the Google Health app on your phone, pull down on the main screen, and wait for the sync progress bar to complete. If your data appears, the problem is solved. If it does not, move on to the next fix.
Toggle Bluetooth Off and On
Bluetooth glitches are the number one reason Fitbit devices stop syncing. A simple toggle can reset the wireless connection between your Charge 7 and your phone.
On Android, open the Settings app. Tap “Connected Devices” or “Bluetooth.” Turn Bluetooth off. Wait at least three seconds. Turn it back on. On iPhone, open Settings, tap Bluetooth, toggle it off, wait three seconds, and toggle it back on.
Do not skip the three second wait. This pause gives the Bluetooth radio enough time to fully shut down before restarting. If you flip it back on too quickly, the reset will not take effect.
After toggling Bluetooth, open the Google Health app and try a manual sync. Pull down from the top of the screen and hold until you see the progress bar appear. Release your finger and let the bar fill completely.
If Bluetooth toggling alone does not work, try putting your phone into airplane mode for about 10 seconds and then turning airplane mode off. This resets all wireless radios at once, including Bluetooth, Wi-Fi, and cellular. Several Fitbit users report that this airplane mode trick succeeds where a simple Bluetooth toggle fails.
Force Close and Reopen the Google Health App
The Google Health app (formerly the Fitbit app) handles all communication between your Charge 7 and your account. If the app freezes or encounters a background error, it will stop syncing your data silently.
On Android, tap the recent apps button (the square or three vertical lines at the bottom of your screen). Find the Google Health app in the list. Swipe it up or to the side to close it completely. On iPhone, swipe up from the bottom of the screen and pause in the middle. Find the Google Health app card and swipe it up to close it.
Simply tapping the home button does not close the app. It just sends the app to the background, where the same glitch continues running. You need to force close it.
After closing the app, wait a few seconds and then reopen it. The app will establish a fresh connection to your Charge 7. Pull down on the main screen to trigger a manual sync.
If force closing does not solve the problem, try clearing the app’s cache. On Android, go to Settings, then Apps, find Google Health, tap Storage, and then tap “Clear Cache.” This removes temporary files that may have become corrupted. On iPhone, you cannot clear cache manually, so uninstalling and reinstalling the app achieves the same result.
Check Your Phone’s Permissions
Your Fitbit Charge 7 cannot sync if the Google Health app does not have the right permissions on your phone. Missing permissions are a silent sync killer because the app often does not display a clear error message.
On Android, open Settings. Tap Apps, then find Google Health. Tap Permissions. Make sure the following are all turned on: Location, Nearby Devices (Android 12 and above), and Physical Activity. Location permission is required because Android uses location services for Bluetooth device scanning.
On iPhone, open Settings. Scroll down and tap Google Health. Make sure Bluetooth is set to “on.” Also confirm that Background App Refresh is enabled so the app can sync data even when you are not actively using it.
If you recently updated your phone’s operating system, permissions can sometimes reset. Check them again after every major OS update. A permission that was enabled before the update may now be turned off.
Without location and Bluetooth permissions, your phone physically cannot discover or communicate with your Charge 7. This is an operating system requirement, not a Fitbit limitation.
Update the Google Health App and Phone OS
Running outdated software is a frequent cause of sync failures. Fitbit regularly releases app updates that fix bugs and improve Bluetooth connectivity. Your phone’s operating system also receives updates that affect how Bluetooth works.
To update the Google Health app on Android, open the Google Play Store. Search for “Google Health.” If an update is available, tap “Update.” On iPhone, open the App Store. Tap your profile icon at the top. Scroll down to find Google Health and tap “Update” if one is available.
To update your phone’s operating system on Android, go to Settings, then System, then System Update. On iPhone, go to Settings, then General, then Software Update. Follow the prompts to install any available updates.
Make sure your phone meets the minimum system requirements for the Google Health app. The app requires Android 11 or higher, or iOS 16.4 or higher. If your phone runs an older version, the app may not function properly or install at all.
After updating both the app and your phone OS, restart your phone. Then open the Google Health app and try syncing your Charge 7 again. Updates often fix sync bugs that no amount of Bluetooth toggling can resolve.
Remove Other Bluetooth Devices Temporarily
Your phone can connect to multiple Bluetooth devices at once, but this can cause conflicts. Wireless headphones, other fitness trackers, smartwatches, car Bluetooth systems, and even smart home devices all compete for your phone’s attention.
Try turning off or disconnecting other Bluetooth devices before syncing your Charge 7. If you have wireless earbuds connected, disconnect them. If another Fitbit device is paired to the same phone, remove it temporarily.
On Android, go to Settings, then Connected Devices. You will see a list of paired and connected devices. Disconnect anything that is not your Charge 7. On iPhone, go to Settings, then Bluetooth. Tap the “i” icon next to each connected device and choose “Disconnect.”
If you use the Google Health app on more than one phone or tablet, make sure the other devices are not nearby during the sync attempt. Your Charge 7 can only connect to one phone at a time. If a second phone with the Google Health app is in range, it may hijack the Bluetooth connection.
After removing competing connections, open the Google Health app and attempt a manual sync. Many users find that this single step resolves persistent sync failures that nothing else could fix.
Uninstall and Reinstall the Google Health App
If clearing the cache and restarting the app did not work, a full reinstall can fix deeper software problems. Reinstalling the app replaces all files with fresh copies and eliminates any corrupted data.
Before you uninstall, verify that your phone runs a supported operating system. If your phone’s OS is too old, you may not be able to reinstall the app after removing it.
On Android, go to Settings, then Apps. Find Google Health and tap “Uninstall.” On iPhone, press and hold the Google Health app icon, then tap “Remove App” and confirm.
After uninstalling, restart your phone. Then go to the Google Play Store or Apple App Store and download the Google Health app again. Open the app and sign in with your Google account. Your Charge 7 should appear in your list of connected devices.
If the app asks you to set up the device again, follow the prompts. Your historical data is stored in your Google Health account, not on the app itself. You will not lose your health history by reinstalling the app.
After reinstalling, pull down on the main screen to sync. The fresh installation often resolves issues caused by corrupted files, broken cache, or failed previous updates.
Forget and Re-pair Your Charge 7 via Bluetooth
Sometimes the Bluetooth pairing between your Charge 7 and your phone becomes corrupted. The devices think they are connected, but data does not flow. Removing the pairing and starting fresh can break this cycle.
On Android, go to Settings, then Connected Devices, then Bluetooth. Find your Fitbit Charge 7 in the list of paired devices. Tap the settings icon next to it and select “Forget” or “Unpair.” On iPhone, go to Settings, then Bluetooth. Tap the “i” icon next to your Charge 7 and select “Forget This Device.”
After forgetting the device, restart your phone. Then open the Google Health app and follow the on-screen prompts to pair your Charge 7 again. Place your tracker close to your phone during the pairing process.
This re-pairing process creates a fresh Bluetooth bond between the two devices. It eliminates any corrupted connection data that may have been stored on your phone.
If your Charge 7 does not appear during the re-pairing process, restart the tracker by pressing and holding the side button until the Fitbit logo appears. Then try pairing again. The tracker must be in close range, within a few feet of your phone, for the initial pairing to succeed.
Check Your Internet Connection
Your Fitbit Charge 7 uses Bluetooth to send data to the Google Health app. But the app needs an active internet connection to upload that data to your Google Health account. Without internet access, the app may show a sync error even though the Bluetooth connection is fine.
Make sure your phone is connected to Wi-Fi or cellular data. Open a web browser on your phone and try loading any website. If the page does not load, your internet connection is the problem, not your Charge 7.
If you are on Wi-Fi, try switching to cellular data or vice versa. Some Wi-Fi networks, especially public ones in hotels, airports, and offices, block certain types of data traffic. Switching to your mobile data can bypass this restriction.
Also check if your phone’s battery saver mode is active. Battery saver mode on both Android and iPhone can restrict background data usage. This prevents the Google Health app from uploading your sync data. Turn off battery saver mode and try syncing again.
Bedtime mode and Do Not Disturb can also limit background data on some phones. Turn these modes off temporarily while troubleshooting your sync issue. Once the sync completes, you can turn them back on.
Make Sure Your Charge 7 Is Adequately Charged
A low battery on your Fitbit Charge 7 can prevent it from syncing. The Bluetooth radio on your tracker requires power to transmit data. When the battery drops too low, the device conserves energy by limiting wireless functions.
If your Charge 7 battery is below 10%, place it on the charger for at least 30 minutes before attempting a sync. A quick charge will give it enough power to complete the data transfer.
Check the battery level on your Charge 7 by swiping down from the main clock face. The battery percentage will appear on the screen. You can also check the battery level in the Google Health app if the device is currently connected.
A fully dead Charge 7 will not respond to button presses or swipes. Place it on its charger and wait for the charging icon to appear on the screen. If no icon appears after several minutes, try cleaning the charging contacts on both the tracker and the cable with a soft, dry cloth. Dirt, sweat, and debris can block the electrical connection.
Once your Charge 7 reaches at least 25% battery, remove it from the charger and try syncing again. A healthy charge level ensures the Bluetooth radio has enough power for a full data transfer.
Perform a Factory Reset as a Last Resort
If none of the previous fixes worked, a factory reset gives your Charge 7 a completely clean start. This step erases all data stored on the device, including any health data that has not yet synced to your account.
Before performing a factory reset, try syncing one more time. Any steps, heart rate data, or sleep information that has not been uploaded to your Google Health account will be permanently lost.
To factory reset your Fitbit Charge 7, open the Settings app on the tracker. Scroll down and find the “About” or “Device Info” option. Look for “Factory Reset” or “Clear User Data.” Confirm the reset when prompted.
After the reset completes, your Charge 7 will restart and show the initial setup screen. Open the Google Health app on your phone. The app should detect the tracker and guide you through the setup process again. Follow the prompts to re-pair the device.
A factory reset resolves issues caused by firmware glitches, corrupted settings, and software conflicts that accumulate over time. It is the most thorough fix available, but it should always be your last step after trying everything else.
Once the setup is complete, your Charge 7 will begin syncing fresh data. Your historical health information remains safe in your Google Health account and will still appear in the app.
Contact Google Support if the Problem Persists
If you have tried every fix in this guide and your Charge 7 still refuses to sync, the problem may be a hardware defect. A faulty Bluetooth antenna or a damaged sensor can prevent the tracker from communicating with your phone.
Visit the Google Health support page or open the Google Health app and look for the “Help” or “Contact Support” option. Google offers live chat, email support, and community forums where other users share solutions.
Before contacting support, note the following details: your phone model, phone operating system version, Google Health app version, and a summary of every fix you have already tried. Having this information ready will speed up the support process.
If your Charge 7 is still under warranty, Google may offer a free replacement. Most Fitbit trackers come with a one to two year limited warranty. Keep your purchase receipt and warranty information accessible.
You can also check the Fitbit community forums for recent reports from other Charge 7 owners. Sync issues sometimes result from server problems or buggy firmware updates that affect many users at once. If the problem is widespread, Google usually releases a fix within a few days.
Tips to Prevent Future Sync Problems
Prevention saves you time and frustration. A few simple habits can keep your Fitbit Charge 7 syncing smoothly every day.
Open the Google Health app at least once a day. Regular syncing prevents large data backlogs from building up on your tracker. Small, frequent syncs are more reliable than one large sync after several days of stored data.
Keep your phone’s operating system and the Google Health app updated. Enable automatic updates if possible. This ensures you always have the latest bug fixes and compatibility improvements.
Restart your Charge 7 once a week. A weekly restart clears minor software glitches before they grow into bigger problems. It takes less than a minute and can prevent many common sync failures.
Avoid pairing too many Bluetooth devices to your phone at the same time. Each additional Bluetooth connection increases the chance of interference. If you notice sync problems after connecting a new Bluetooth accessory, that accessory may be the cause.
Charge your Charge 7 before the battery drops below 20%. Low battery levels affect Bluetooth performance. Keeping the battery healthy ensures consistent sync reliability.
Frequently Asked Questions
Why does my Fitbit Charge 7 say “phone disconnected”?
This message appears when your Charge 7 loses its Bluetooth connection to your phone. The most common causes are Bluetooth being turned off on your phone, the phone being out of range, or the Google Health app being closed or frozen in the background. Toggle Bluetooth off and on, reopen the Google Health app, and bring your phone within a few feet of the tracker. The connection should restore within seconds.
How long should a Fitbit Charge 7 sync take?
A normal sync takes between 10 and 60 seconds. If your Charge 7 has not synced for several days, the initial sync may take a few minutes because there is more data to transfer. If the sync progress bar freezes for more than two minutes, cancel the sync, restart your tracker, and try again.
Will a factory reset delete my health data permanently?
A factory reset erases all data stored on the Charge 7 device itself. However, any data that already synced to your Google Health account is safe. Your historical health records, workout logs, and sleep data remain in your account. Only unsynced data stored on the tracker will be lost.
Can I sync my Fitbit Charge 7 with more than one phone?
Your Charge 7 can only pair with one phone at a time. If you switch to a new phone, you must remove the old pairing and set up the tracker again on the new device. Having the Google Health app installed on multiple phones nearby can cause sync conflicts. Uninstall the app from any secondary devices you no longer use.
Does Wi-Fi affect Fitbit syncing?
Your Charge 7 does not use Wi-Fi to sync. It uses Bluetooth to communicate with your phone. However, your phone needs an active internet connection (Wi-Fi or cellular data) so the Google Health app can upload your data to the cloud. Without internet on your phone, the sync will stall after the Bluetooth transfer completes.
Why does my Fitbit Charge 7 sync on some days but not others?
Intermittent sync failures usually point to a background app or phone setting that changes throughout the day. Battery saver mode, Do Not Disturb, and bedtime mode can all restrict background data. Check if your phone activates any of these modes on a schedule. Also verify that no new Bluetooth device was recently paired to your phone, as it may be causing periodic interference.
Hi, I’m Siya — the founder and writer behind Craftifyy.com. I’m a tech enthusiast who loves reviewing gadgets, comparing products, and helping people make smarter buying decisions. Got a question? Feel free to reach out!